Docker is a containerization technology that’s been getting quite a bit of attention over the last year or two. It offers a more lightweight, flexible and repeatable alternative to creating and running full Virtual Machines (VMs). In this, the first in a series of posts on Docker, I’ll look at how to run an application inside of a pre-built container image. In this series, I’ll look at:
- Running Containers (this post);
- Building Images: How to create a new container image, customized to your requirements;
- Disposable Containers: Using containers to run a short-lived job rather than a long-lived service;
- Composing an Environment Stack: Creating an environment composed of multiple linked containers.
What is Docker?
Docker allows you to build and run containers for applications. A container can usually be thought of as if it were a full Virtual Machine. It has most of the attributes of a VM: an IP address, a network connection and a file system. Applications can be loaded into and run from the container. However, a Docker container is not a full VM. It’s just an abstraction of the bits we’re interested in. The low level stuff in the operating system kernel is shared with the host system and with other containers. This means that containers are much lighter than full VMs. They’re quicker to start and are more memory efficient.
This not only means that we can cram more containers into our available hardware, it means that containers are so cheap to run that they can be considered disposable. With Docker, we can start up a container just to run a single job and then dispose of the container when it’s done. If a service is under heavy load, we can create additional containers to service the additional requests and then dispose of them when the load settles down. With Docker, we can move away from the idea of permanent infrastructure towards the idea of infrastructure on demand.
Getting Started
Docker has excellent instructions on installing Docker for Windows, Linux or Mac OS X. I’ve chosen to install Docker on Linux rather than my usual Windows environment because:
- A bug in the current Windows package causing it to fail on startup (solution was to upgrade to the latest VirtualBox)
- Docker is a native Linux application. The Windows / Mac OS X installations just use VirtualBox to create a Linux VM behind the scenes. I figured it would be simpler just running natively from Ubuntu.
Running the Spanners demo in Docker
As usual, I’m using the Spanners demo app as a basis for this demonstration. This application usually runs in Tomcat 7 with a MySQL 5.6 database, both installed on my Windows workstation. Obviously, the Dockerized version will run in Linux rather than Windows but should be otherwise identical.
I first considered finding a pre-built Docker image that had Java 8, Tomcat 7 and MySQL 5.6 installed and ready to go. However, this rather goes against the recommended design of a containerized stack. As the containers are lightweight, it makes sense to have each container do only one thing. So my environment design is to have a webserver container running Tomcat (with Java as a prerequisite) and a separate database container running MySQL.
Many vendors – including Apache (Tomcat) and Oracle (MySQL) – offer official Docker images. That is, a container that runs their product and nothing else. I’ve chosen to run the official Tomcat 7 (with Open JDK 8) and MySQL 5.6 images.
Setting up the database
The official MySQL 5.6 image is started with the following Docker command:
sudo docker run --name spanners-database -e MYSQL_ROOT_PASSWORD=my-secret-pw -d mysql:5.6
Note that the command was run with sudo. The docker command requires root privileges so you must either login as root or run all commands with sudo.
If this is the first time this command is run, it will download the mysql:5.6 image from the official Docker repository at Docker Hub. Once it’s down, Docker will start up the container and run it in the background (the -d switch signifies that it is to be run detached, not interactively). As it’s running detached, there’s very little to show once its up but we can run commands against it:
sudo docker exec -i spanners-database mysql --password=my-secret-pw < spanners-database/initialize_db.sql
This command tells docker to execute a command against the spanners-database container. In this case, the command is to have mysql run the initialize_db.sql script. This script sets up the spanners schema and creates a user for the webserver to connect.
CREATE SCHEMA `spanners` ;

USE `spanners`;

delimiter $$

CREATE TABLE `spanner` (
  `id` int(11) NOT NULL auto_increment,
  `name` varchar(255) default NULL,
  `size` int(11) default NULL,
  `owner` varchar(255) default NULL,
  PRIMARY KEY  (`id`),
  UNIQUE KEY `name` (`name`)
) ENGINE=InnoDB DEFAULT CHARSET=latin1$$

GRANT ALL PRIVILEGES ON spanners.* TO "spanners"@"%" IDENTIFIED BY "password";
Setting up the webserver
The official Tomcat 7 image is started like so:
sudo docker run --name spanners-webserver --link spanners-database:spanners-database -p 8080:8080 -d tomcat:7-jre8
The –link switch is to link this container to the existing spanners-database container. This essentially creates a network connection between the two containers and allows the webserver to communicate with the database. The -p switch opens up a connection to a port in the new container. Port 8080 on the container will be served as port 8080 on the host machine. This allows us to access the running Tomcat instance at http://localhost:8080. Again -d signifies that we’re running detached, not interactively.
Again, this will be slow the first time it’s run as the container image is downloaded from Docker Hub. Once it has downloaded and started, browsing to http://localhost:8080 shows the usual Tomcat home page:
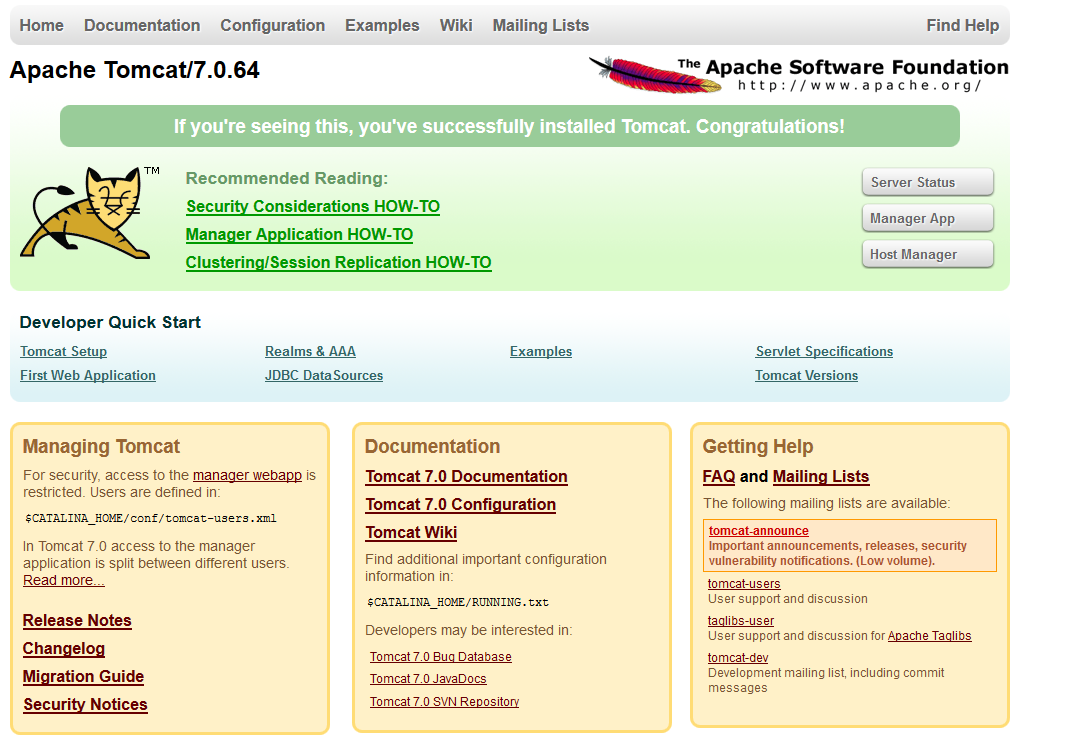
This is a fresh instance of Tomcat with no configuration settings changed and no applications deployed. We need to copy the necessary config files and database driver for the Spanners app. This is done using the docker cp command which copies files from the host system into the container.
export CONTAINER_CATALINA_HOME=/usr/local/tomcat
sudo docker cp spanners-webserver/tomcat/context.xml spanners-webserver:$CONTAINER_CATALINA_HOME/conf/context.xml
sudo docker cp spanners-webserver/tomcat/tomcat-users.xml spanners-webserver:$CONTAINER_CATALINA_HOME/conf/tomcat-users.xml
sudo docker cp spanners-webserver/tomcat/mysql-connector-java-5.1.36-bin.jar spanners-webserver:$CONTAINER_CATALINA_HOME/lib/mysql-connector-java-5.1.36-bin.jar
We then need to restart Tomcat (restarting the container will do this):
sudo docker stop spanners-webserver
sudo docker start spanners-webserver
Finally, we need to deploy the Spanners-MVC application. This could also be done using the docker cp command to copy the war to the Tomcat webapp directory. I prefer to have Maven deploy the application as described in a previous post:
mvn tomcat7:deploy-only -pl :spanners-mvc
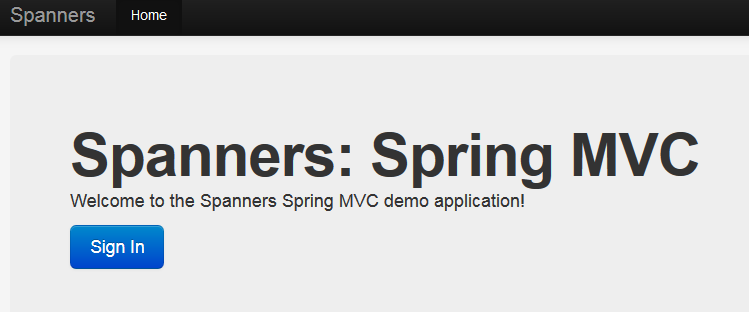
Now, if we navigate to http://localhost:8080/spanners-mvc/ the Spanners-MVC landing page is shown:
Is that it?
We’ve used Docker to run an instance of MySQL and an instance of Tomcat. We’ve then manually configured these instances to run our application. Using Docker in this way does not offer much advantage over simply installing MySQL and Tomcat to the host machine. Docker’s power comes from the ability to modify container definitions (images) so that they start already configured exactly the way we want.
In the next article in this series, we’ll look at building Docker containers from our own customized images and how this simplifies our set-up work.
Nice article. Thanks fr sharing.
Looking forward to the next article of this serie.
[…] « Docker Part 1: Running Containers […]
[…] Running Containers: Installing Docker and starting containers; […]
[…] Running Containers: Installing Docker and starting containers; […]
Hello, great subject and clear article, thanks! Just a question for you: where can I get the context.xml, the tomcat-users.xml and the .jar to copy them into the container?
Hi Francesco, thanks for your question! All the files required to run this tutorial are now on my GitHub repo (link is to latest version). The specific versions used for this tutorial were tagged as version 3.2 (this link will always work). The specific files you asked about are in the
spanners-webserver/tomcatdirectory.If you skip ahead to Part 2 of this tutorial, you’ll see a way that you can run this from a pre-built image with the necessary .xml and .jar files already in the container. Good luck!
Thanks a lot for your help!
Getting this error :
:~/sagar$ mvn tomcat7:deploy-only -pl :spanners-mvc
[INFO] Scanning for projects…
[ERROR] [ERROR] Could not find the selected project in the reactor: :spanners-mvc @
Can you please help ???
Hi Sagar
I’d suggest that you check that you’ve run this command from the right directory. You should be in the spanners directory which should contain subdirectories spanners-dao and spanners-mvc.
Where can I find the spanners directory? I searched your GitHub projects but I can’t find spanners directory which contains subdirectories spanners-dao and spanners-mvc.
Hello.
When I downloaded the code from your GitHub.
But the initialize_db.sql file has no CREATE SCHEMA `spanners` ; and GRANT ALL PRIVILEGES ON spanners.* TO “spanners”@”%” IDENTIFIED BY “password”;
Should I manually add these two lines?
Hi Sang Soo Jun!
If you want to run the database as shown in this post then yes, you’ll need the CREATE SCHEMA and GRANT ALL PRIVILEGES lines. That’s if you want to start up a container from the official mysql:5.6 image:
sudo docker run --name spanners-database -e MYSQL_ROOT_PASSWORD=my-secret-pw -d mysql:5.6However, if you look ahead to part 2, I ended up creating a new image extending mysql:5.6. I used the MYSQL_DATABASE and MYSQL_USER environment variables to take care of this. That’s the code now in GitHub.
So you have a choice. Either add the two lines to the initialize_db.sql script or set the MYSQL_DATABASE and MYSQL_USER environment variables.